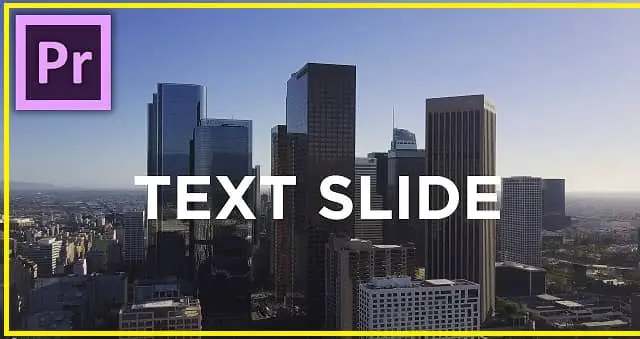
Title Slide in Premiere Pro
Creating an eye-catching title slide in Premiere Pro is a great way to add some visual interest to your video project. When it comes to creating an eye-catching title slide for your next video project, there are a few things you can do in Premiere Pro to make it stand out.
In this post, we'll show you how to create a simple title slide and add some effects to make it look more professional.

| What you pay! | ||||
|---|---|---|---|---|
|
|
$0 |
Choose Your Topic:
How to create an eye-catching title slide in Premiere Pro.
When creating a title slide for your next video project in Premiere Pro, there are a few things to keep in mind in order to create an eye-catching and professional-looking result.
Here are a few tips:
- Use a strong, sans-serif font for your title text. This will help it stand out against the background.
- Make sure to use adequate spacing between the letters and between the title and the subtitle, if you have one. This will help the text look more readable.
- Use a contrasting color for the title text, against the background. This will help it stand out.
- If you have a logo or other graphic to include in the title slide, make sure to place it in a prominent location.
Keep the title simple and to-the-point. You don't want to overload the viewer with too much information at once.
Choose an eye-catching font.
Font choice is an important aspect of any design project. The right font can make a project look polished and professional, while the wrong font can make it look amateurish. When choosing a font, it's important to consider the project's purpose and audience.
For a project that needs to look professional, such as a resume or a business card, a serif font is a good choice. Serif fonts have small lines at the ends of their letters, which make them look more refined. Some popular serif fonts include Times New Roman, Georgia, and Garamond.
For a project that needs to be fun and creative, such as a flyer or a poster, a sans-serif font is a good choice. Sans-serif fonts have no lines at the ends of their letters, which makes them look more casual. Some popular sans-serif fonts include Arial, Helvetica, and Calibri.
When choosing a font, it's important to keep the project's purpose and audience in mind. If you're not sure which font is right for your project, experiment with a few different options until you find the perfect one.
Use creative effects to make your title stand out.
There are many different ways to make your title stand out, and it really depends on your personal preferences and the tone of your document. Some common effects include using different fonts, colors, and sizes; italicizing, bolding, or underlining the title; and adding graphics or special characters.
You can also try spacing the title out from the rest of the text or using a different alignment. As long as your title looks different from the rest of the text, it will catch the reader's attention and help them to quickly identify the document's main topic.
Add graphics or images to your title slide.
Adding graphics or images to your title slide can help to attract attention and add visual interest. You can use any type of graphic or image that you like, as long as it is appropriate for your presentation.
Some ideas to get you started include using company logos, stock photos, or images that are related to your topic.
Exporting your Premiere Pro title slide for use in your project.
Premiere Pro makes it easy to export your title slide for use in your project. You can export your title slide as a still image, or as an animated GIF. In this section, we'll walk you through the steps for exporting your title slide as a still image.
To export your title slide as a still image, open the File menu and select Export. In the Export dialog box, select the desired format from the Format drop-down menu. Then, enter a name for the file in the File Name text box and click Save.
To export your title slide as an animated GIF, open the File menu and select Export. In the Export dialog box, select the Animated GIF format from the Format drop-down menu. Then, enter a name for the file in the File Name text box and click Save.
Disclosure:
This article was extensively researched and arranged to provide benefit to the intended viewer.
The contents of this page may or may not contain affiliate links, in which I may receive a small commission at no absolute cost to you.
These are products I fully recommend as the best options as of current, clicking a product and saving item to cart will allow you to lock in the best deal for that item.
You can read more about my full disclosure here in my
Privacy Policy